Step 1
Hi guys I thought I would share some pictures of my Starcom creation. I finished a Shadow Force base/diorama about two weeks ago. Ward Schultz was a big help and inspiration with this piece. He originally gave me the idea for the perfect playset to use for the Shadow Base and also told me which materials to use. He even sent me some metal fillings from ankle weights. So a big thanks has to go out to Ward for his help and ideas on this!
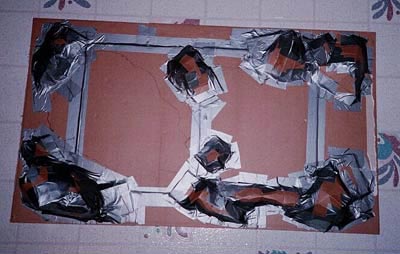
This was the first step in forming the landscape. I basically taped two layers of cardboard together to form the base of the landscape. Then I cut four cardboard boxes up into strips which I used to form hills and one mountain. The mountain is in the upper right area, which may be hard to see at this angle. I used duct tape to stick all the cardboard down. The diorama is roughly 4 feet by 2 feet.
Step 2A
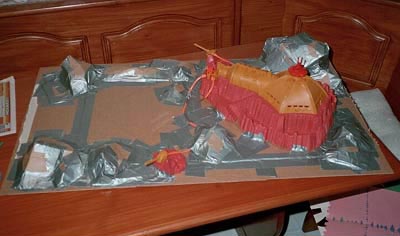
Once I got all the hills done I next had to tape and glue the base to the cardboard landscape. Prior to Step 1, I put the base, missile stations and hoses down and drew outlines for placement, then I put the hills down. I made sure not to tape hills over any outlines for the base and its parts. The missile stations are air powered but I will not use that feature. The other area is reserved for a landing pad.
Step 2B
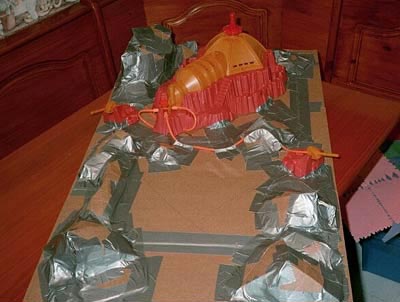
Just a shot from a different angle.
Step 3A
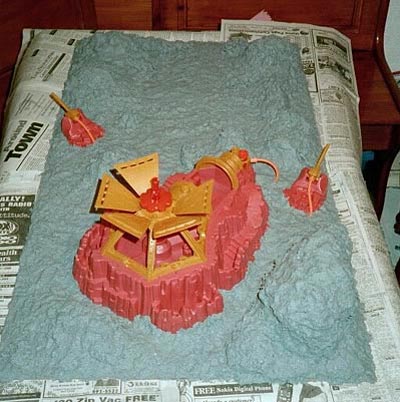
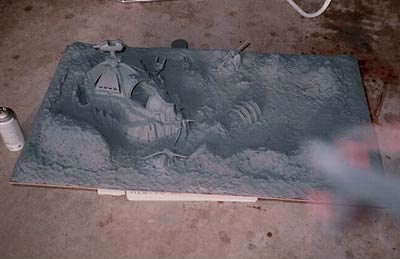
I realized after I was done putting down the Cello-Clay that I should have showed it go down in stages but it only took and hour and a half. The material that makes up the landscape is called Cello-Clay. Its a paper mache type material that you add water too, which turns it into a clay-like material. The drawback to it is that it takes forever to dry. It took 4 to 5 days to fully dry but I put it on pretty thick. This material once dry is very light but super strong. After it dried, all four corners of the cardboard warped up.
Step 3B
A shot from a different angle.
Step 4A
You may be able to tell that all four corners warped up from this picture. I purchased a half inch thick sheet of plywood, cut it to size and then glued the diorama to it. This picture also shows the stage where I sprayed the entire diorama with Elmers spray adhesive and sprinkled the metal fillings on it. I also applied it to the base steps and crevices.
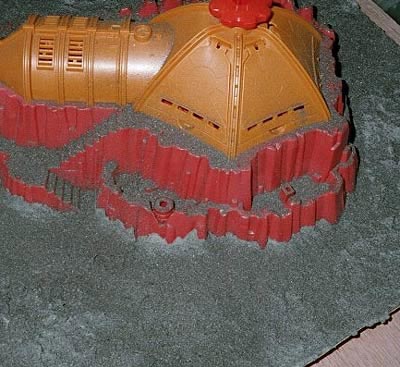
Step 4B
Here's a close-up of the metal fillings that are glued to the base and diorama. The figures and ships really stick to it with their magnets. This will all get covered with paint.
Step 5A
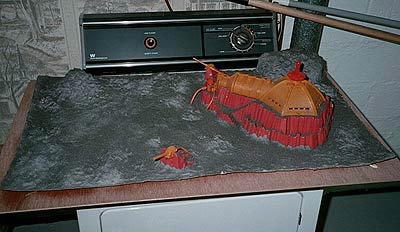
The real Step 5 is missing. You may be able to tell I had to add more Cello-Clay around the entire diorama to cover up the four corners that had popped up. The plywood wouldn't be coming up like the cardboard did. This is the first step in the painting phase. I painted the entire piece including the inside of the base with a gray primer finish. This will be the final coat for the inside of the base . It took 2 cans and about an hour to paint it all.
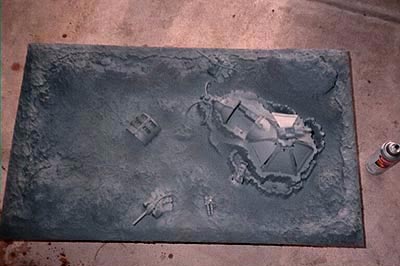
Step 5B
Here's another shot of the primered base and surrounding landscape.
Step 6A
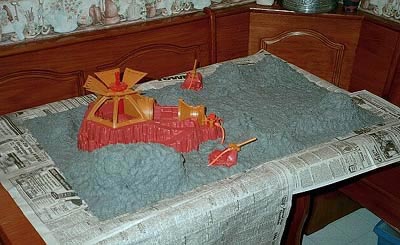
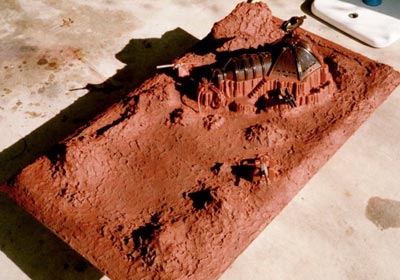
After the gray primer came the red primer which would serve as the base coat of the planet's surface. It's a really reddish brown color. The base was painted gloss black so it would really shine. But while it was still wet I held the red about 2 feet away and sprayed it to get a dusty appearance on the base. It really turned out fantastic and I wish you could see it better. Maybe some later pictures will show it better. This is the final coat of paint for the base. Just touch up with acrylic paint and a brush later on.
Step 6B
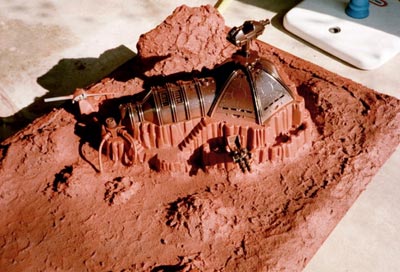
This is a close-up of the base. The gun station on the rocks got touched up in the end. The base really looks good, take my word for it. The rocky structure around the base was detailed painted in the end.
Step 7
Remember that area that needed a landing pad? Well when I finally decided on the shape and material to use, it finally started to get attached to the diorama. This had quite a few stages so I condensed it into a few images. First off I bought a small sheet of steel at the hardware store and cut it in the shape of the Shadow logo with a metal cutting blade in my sabre saw. I then painted it with a pounded metal type of paint I had. I glued a piece or cardboard to the back side of the metal pad so it would make it easier to glue it down later. You can see in this picture I was using lots of glue and cardboard to attach it to the diorama. There is also cardboard beneath it to help raise it up.
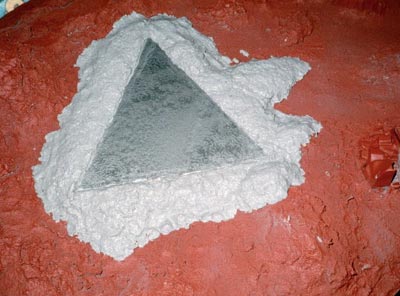
Step 8
Next came the Cello-Clay again. I shaped it around the landing pad and made a small ramp leading down and towards the base. Later I widened the ramp to accommodate a vehicle. I applied the cello-clay in two separate stages because I built it up more after this and had to widen the ramp leading down.
Step 9
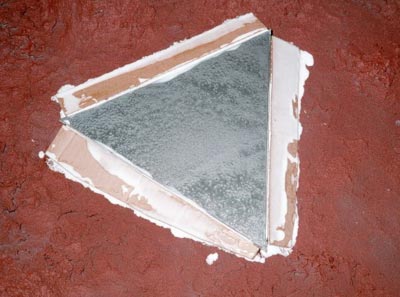
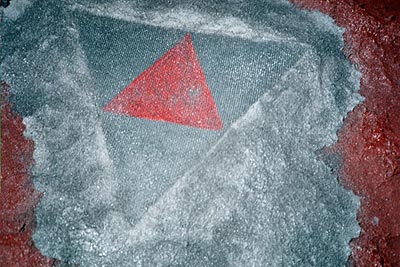
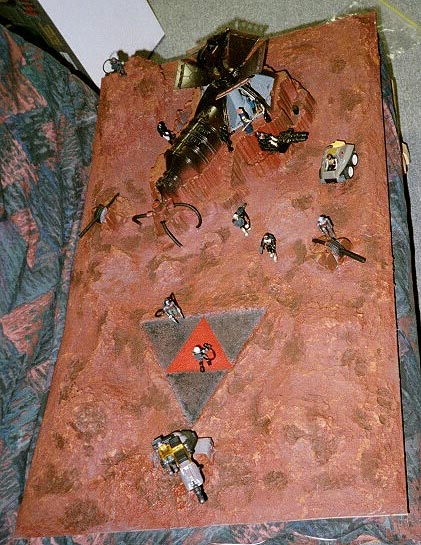
You can see several things took place about this time. First I painted a red triangle on the metal plate used for a landing pad. Then I got some window screen material, cut it to size and applied it over the metal plate. Lastly I sprayed Elmers glue adhesive on the pad and new Cello-Clay and sprinkled the last of the metal fillings on it all. You can see the ramp is much wider from this shot. The grid on the metal base didn't show in this shot but it looks great. It doesn't interfere with the magnets in the figures feet either.
Step 10
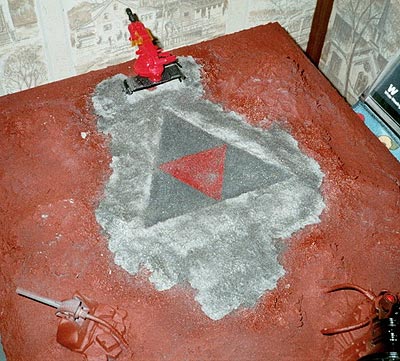
Well I thought I was done with adding things then I got the idea while this was drying to add another piece. I decided to add a gunner station on the front of the pad. More Cello-Clay and the very last of the metal fillings. At this stage in the process I was ready to paint this part and prepare for the detail painting of the entire project.
Step 11A
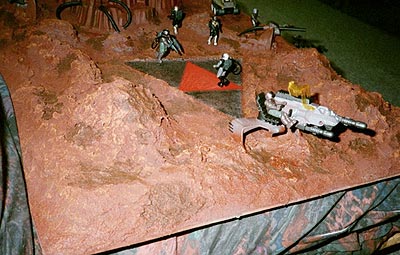
This is a close up of the landing pad with its surrounding area painted and detailed. The gunners station was detailed more than this later on. Also at this stage the landscape wasn't quite finished. I had more work to do on it before I was happy.
Step 11B
A shot with more detail but still not finished.

Step 11C
I apologize for the pictures not being so great but I didn't have a digital camera at the time to take these. This is just another shot but the landscape still isn't final.
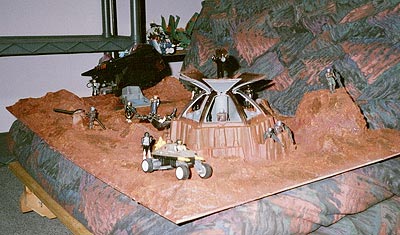
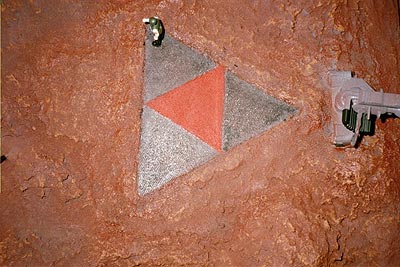
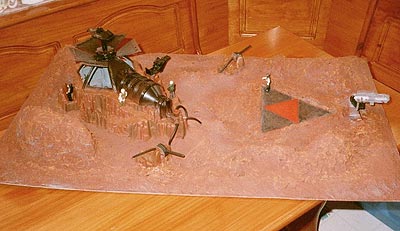
Okay the painting is finished. Again the images here aren't that great and I will take some really good ones when I can borrow my friends digital camera. There is 4 colors being used for the detail on the landscape on top of the red primer. It really turned out pretty nice but took me a couple days until I was happy with it. I painted over things a lot till I got what I wanted. These images don't do it justice.
Another shot.
Overall shot. I plan to replace these with better shots when I get time to re-shoot. Next shots will be some of a Starcom vs. Shadow Force battle. Notice the Emperor is at the base. This was a really fun project I hope it inspires you guys to put one together. It does take up a lot of room. The good thing though is that it's light and easy to carry around. Take care!!!
By Gary Anderson